How To Fix a Copper Pipe Leak

Finding a leak in a copper pipe can be a challenging task, but there are several ways to identify a leak. If you hear a dripping sound coming from your pipes. Check the water meter and if there is any changes over a couple hours that is an indication of a leak. Finally, if therer is any water damage around the pipes that is a sign there is a leak. Just because there is a leak does not mean you need to call an expensive plumber. In this article there are instructions on how to fix your leaky pipe and what you may need.

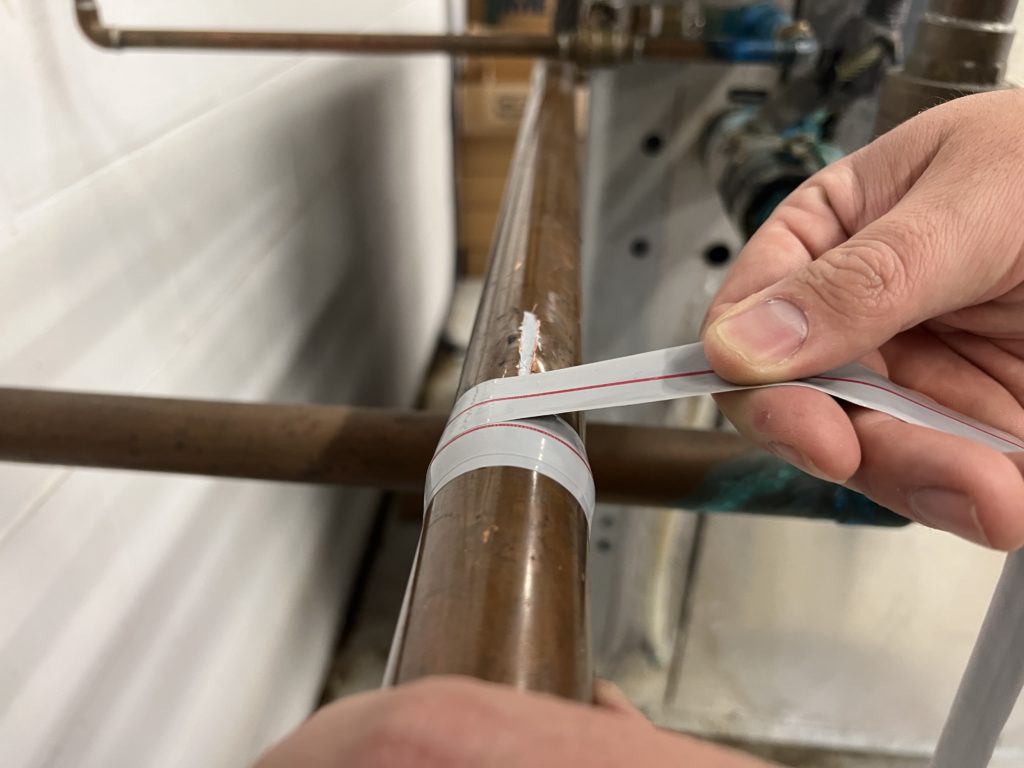
E/ Fusing silicone putty and E/ Fusing silicone tape are essential tools for fixing leaks in copper pipes. They are simple to use, cost-effective, and provide a long-lasting solution to leaky pipes. By having these tools on hand, you’ll be prepared to tackle any leak that comes your way and save money by avoiding the need to call a plumber.

Why Use Tommy Tape Products?

  • Cost-effective: Repairing the leak yourself with these tools can save you money on hiring a plumber.
  • Easy to use: Both self-fusing silicone tape and silicone putty are simple to apply and don’t require any special skills or tools.
  • Long-lasting solution: These materials provide a strong and durable solution to leaky pipes, ensuring that the repair will last for a long time.
  • Quick fix: The repair process is quick, allowing you to get back to your normal routine as soon as possible.
  • No mess: Unlike some other repair methods, silicone putty and self-fusing silicone tape do not create a mess, making cleanup a breeze.
  • Versatile: Both materials can be used on a variety of surfaces, making them a versatile solution for leaky pipes and other repairs.

If you find a leak, fixing one can be an easy and cost-effective DIY project with the right materials. Additionally, silicone putty and self-fusing silicone tape are easy to use, making the repair process simple and straightforward.

How to Patch a Leak:

  1. Clean the area around the leak thoroughly and let it dry.
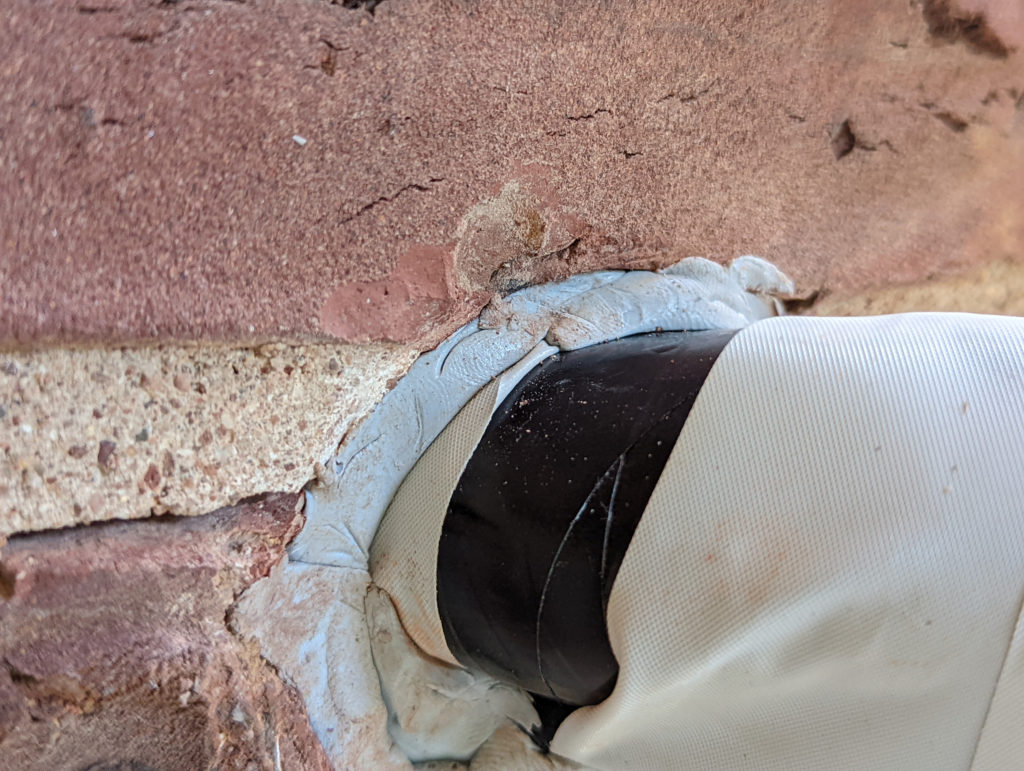
  2. Apply a thin layer of E/ Fusing Silicone Putty to the area around the leak, making sure to cover the entire leak.
  3. Wrap the self-fusing silicone tape around the pipe, making sure to overlap the edges of the tape as you go.
  4. Apply pressure to the tape to activate the self-fusing properties and let it sit for at least 24 hours.

Take a look in the shop to get your E/ Fusing Silicone Putty and your E/ Fusing Silicone Tape now!

Caulk Alternatives: How to Easily Fill Gaps in Appliances and Walls

Small holes in appliances and walls are common in many households. First, you might try to even out the surface with caulk. Whether you are a renter or a homeowner, caulk can be a messy job that requires the help of a professional to create a seamless finish. E/Fusing 900 Putty is a silicone putty that seals a variety of holes and cracks without the hassle. Several putty colors are available including black, gray, and white to suit any of your aesthetic needs. 

In this article, we will discuss the benefits of waterproof silicone putty as a caulk alternative.

The Benefits of Silicone Putty 

Waterproof 

Customers have relied on E/Fusing 900 silicone putty to plug holes in showers, sinks, and water-exposed areas. The waterproof material is resilient against leakage and maintains a strong hold in a variety of temperature conditions. Lastly, if you need to plug a hole in a pinch, a waterproof silicone putty is an ideal solution. 

Moldable to Fit Nearly Any Shape or Size

Silicone putty is a user-friendly caulk alternative since it’s malleable to fit any hole shape, without the need for extra tools or drying time. The putty can be warmed up in your hands and worked into any crevice to provide a lasting sealant solution. 

Seals Extremely Well

Many people worry about the durability of waterproof silicone putty; however, it has a time-tested sealing strength. The material does not sag or droop, allowing it to virtually seal any hole without moving or altering its shape. 

Not Messy or Gooey 

Using traditional caulk is a messy process since it’s wet, gooey and takes time to cure. This can ward off people that aren’t familiar with small DIY renovation projects. Silicone putty can be used right out of the package without any messy hands or risk of ruining other areas of your house. 

Comes in a Variety of Colors

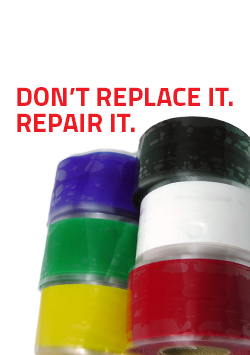
E/Fusing 900 silicone putty comes in three basic colors including black, white and gray. We recommend you color match the putty according to the surface area you need to fill. Traditional caulk is found in a white color, which can require extra steps like painting and covering after the caulk dries. Moldable silicone putty eliminates all the added steps, while still giving you the versatility of use. 

What Makes E/Fusing 900 Silicone Putty Different? 

  • Does not harden or crack like alternative patches
  • Creates an impenetrable waterproof barrier
  • Little to no mess during application
  • Non-hardening and stays flexible, expanding and contracting indoors. (outdoors it may cure if in direct sunlight)

Fill Gaps and Holes in Appliances, Walls, Showers and More With E/Fusing 900 Putty

Every homeowner deserves a simple solution to fill holes, cracks and incongruencies in their home. Whether you need to patch up an area in your bathroom, kitchen or bedroom, E/Fusing 900 Putty is able to get the job done. Start by exploring our variety of three colors today and get started on your next hassle-free home improvement project!

Pool Light Repair: Fix a Pool Light Leak

If your pool light fixture is leaking water, you may be postponing your summer plans.  Pool lights commonly get cracks around the connector ports which can be the source of losing water level. While you may consider getting a new pool light, there are more affordable solutions available to you. 

Before investing in a replacement, consider using E/Fusing 900 Silicone Putty to repair the crack in no time. Users will save money and receive a reliable, quick resolve to their pool leak. In this article, we’re going to break down everything you need to know about how to fix your pool light with putty. 

The Benefits of E/Fusing 900 Silicone Putty 

  • Easily moldable: The material is highly malleable so you can bend, mold, and shape it to your desired surface. The pool putty is resilient and will maintain its form even in harsh conditions. 
  • Safe for electrical use and strong insulation: The putty is entirely safe for electrical use making it a great option for pool light replacement. Contrary to other pool types, silicone putty provides superior insulation in the water. The flexible material can fit smoothly into small cracks and crevices. 
  • Fixes leaks: If there is leaking, consider mending the area with putty before getting a new light. E/Fusing 900 Silicone Putty is strong enough to fix leaks for good and restore peace of mind in seconds. 
  • Cost Effective: A new light fixture costs anywhere from $100-$300. However our putty costs less than $20.

The Unique Feature of E/Fusing 900 Silicone Putty For Pool Light Replacement 

  • Easily Removable: If you decide to remove your pool putty it will come off easily without harming or irritating the pool surface. 
  • Waterproof: E/Fusing 900 Silicone Putty is entirely water resistant which allows the material to maintain integrity over long periods of time. The durable design won’t disintegrate or cause problems until you are ready for removal. 
  • Easy to shape: Simply massage the putty into your hands to loosen the material and shape it to your desired form. Pool putty is able to seal small cracks and crevices that tape alone can’t reach.
  • Does not absorb water and guarantees tight insulation: Putty will not absorb water so no water can get through to the other side of your plug. Firmly press the putty into the leak point to ensure strong, tight insulation that doesn’t budge. 
  • Does not harden or crack: Putty will never harden and will always stay pliable, but will not harden or crack over time. Pool putty is a great option for repairing the light because of its longevity both in and out of water for long periods. 

How to Use Putty for a Water Leak in Your Pool Light Fixture

  1. Massage E/Fusing 900 Silicone Putty in your hands to soften slightly prior to use. 
  2. Remove the outer face of the pool light to reveal the inner wire. 
  3. Locate the back conduit that connects the pool light wire to the inside concrete of the pool. 
  4. Slowly pack the putty into the crack around the wire, or wherever your potential leak may be located. Be sure to pack putty all the way around wire to seal the entire area. Add more layers if needed.
  5. Move the face of the pool light back into position and you’re all set!

Are you considering a pool light replacement? Here at Tommy Tape, we offer a superior pool putty solution for any common light leak. Check out the E/ Fusing 900 Putty today here, or reach out to us if you have any questions.